Tuesday 8 November 2016

This Diwali....

Hello friends...
Hope you all had a great Diwali...I too had a great Diwali this year, as this time finally me and my in-laws got a chance to celebrate Diwali together. But still this time the festival of light remained a low key affair at my place. I was awfully busy till the big day and couldn't do as much as planned. I had two Diwali DIY posts and could only share one with you all. Sorry for another one, which is still lying as a draft. 

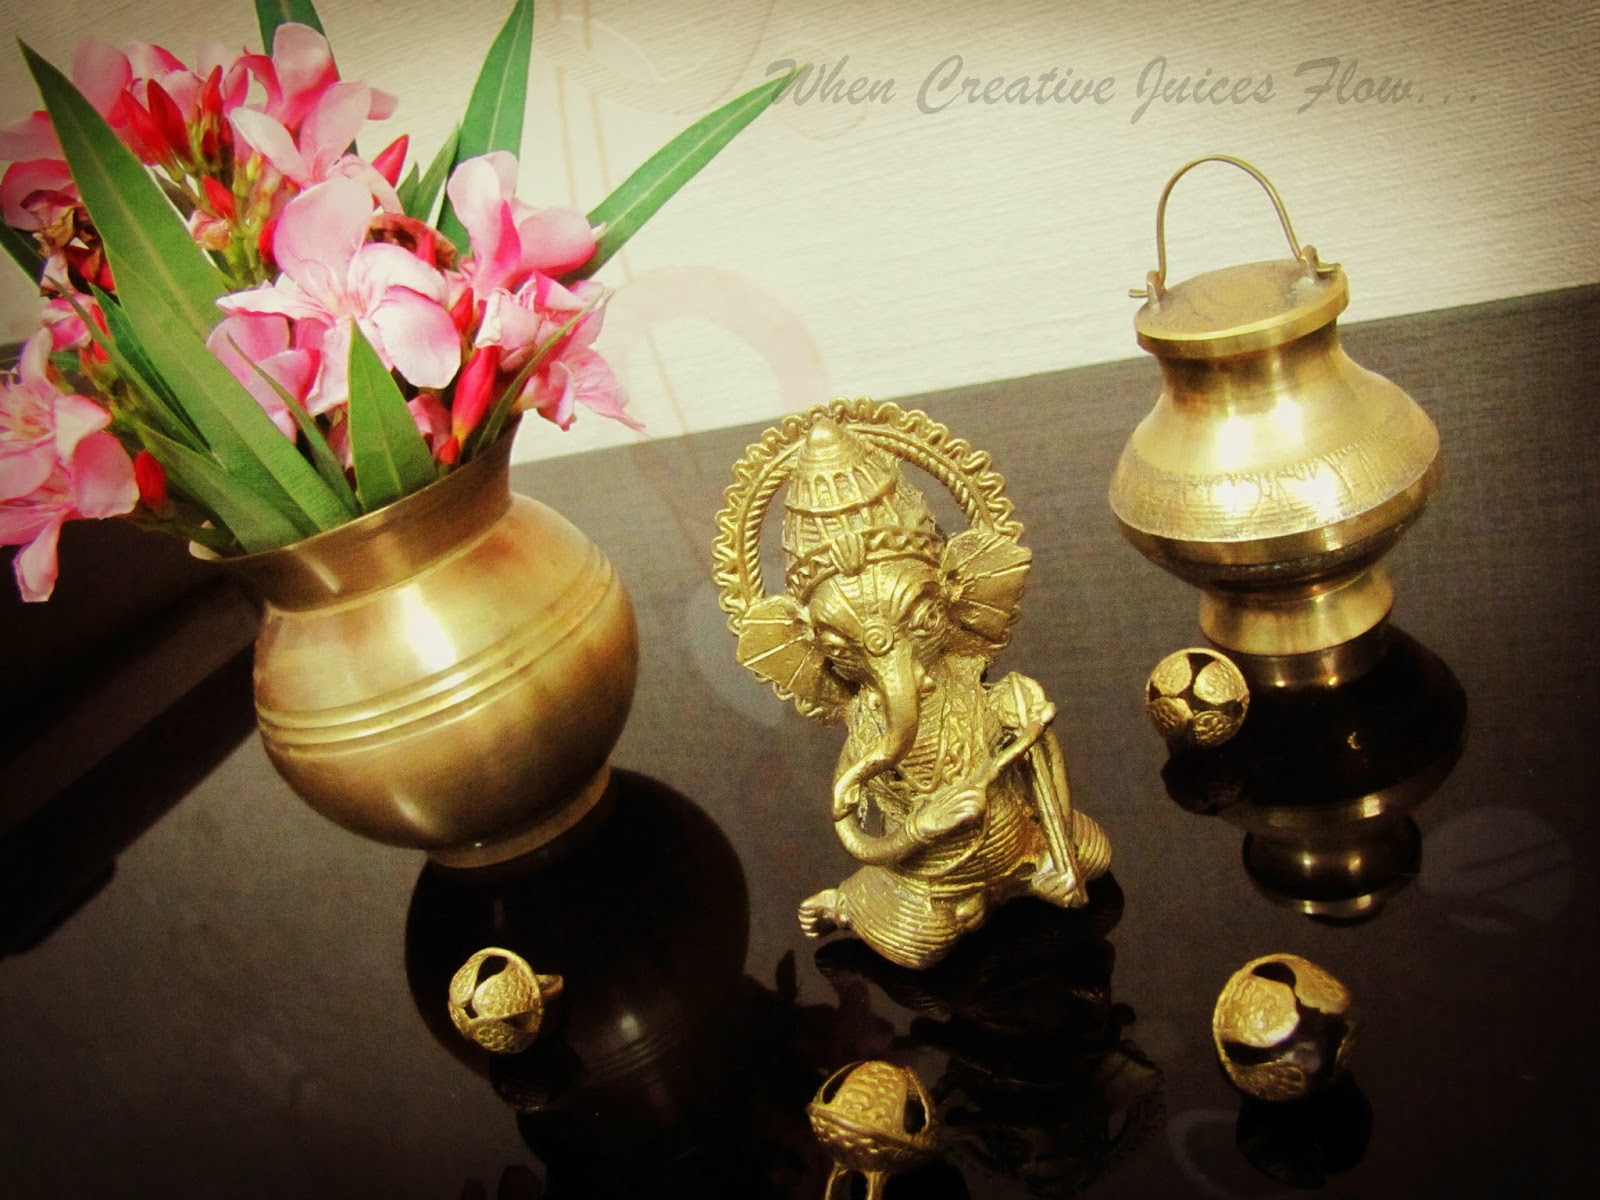
As I am already late, I don't want to become more late and here are some Diwali snippets from my home...
Sorry for the picture quality friends, first of all I am a novice photographer and this time in a hotchpotch the pictures are not as they should be.   

Entrance of my home...on the three days of Diwali...
This clay doll holding diyas is my favourite one and is with me from last few years..my heart never lets me bid adieu to this. So each year I give some touch up and use it.  
For Diwali decoration terracotta products are first preferred at my place and this is the time when we get maximum variety of these. 
 My handmade urli with some artificial lotus. 
 Indoor decoration was not much this time. 
Diwali is incomplete without some mouth watering delicacies..so they were made abundantly and my MIL is a big sport to me in preparing these. 

This was all about this Diwali *smiles*
Soon will take you all for my kitchen tour ............

Wednesday 26 October 2016

DIY Kalash

Diwali or Deepavli...the festival of lights is quickly approaching. 
On Diwali, Lord Ganesha and Shri Lakshmi are worshiped in many parts of India. And in Hinduism when there is any festival a Kalash is considered as an auspicious object. Today I have come up with a tutorial on making Kalash. This can be used as a decor element in your Diwali decoration and can also be a part of a great combo gift with some sweets & diyas for friends, relatives and colleagues. 
Just keep a Kalash near your idols with some tea lights to complete the look...
Actually the Kalash that you can see in the following picture is what I had made previous year and this year I have made some only for gifting. 
Items required: 
1- A small clay pot
2- Coconut husk
3- Acrylic paint
4- Glue / fevicol
5- Rhinestones
6- Thread (same colour as coconut husk)
7- Mauli / Kalava / Charadu thread (Red and yellow thread considered as sacred and is tied on hand in many religious ceremonies in Hinduism) 
8- Small Ganesha made of plastic (I keep on collecting these from wedding invitation cards)
9- Scissors
10- Paint brush
11- Drawing sheet or green colour sheet papers for leaves 
Tutorial: 
Step-1, 2 & 3
Paint the clay pot. Cut leaves from the sheet paper and paint them. It represents mango leaves, so cut the shape accordingly.
Step- 4, 5 & 6
Take some coconut husk and give it a round shape. Then slowly add on more husk to it. Gradually give a coconut shape to it. Once you are happy with the shape, with some thread tie it all around. 
Step- 7, 8 & 9
Coconut size should be according to the size of mouth of clay pot. Now by using mauli thread and rhinestones decorate the pot and the coconut. Let it dry for some time.     
Step-10
This is the final step. Now stick seven leaves on the clay pot first and then apply some glue on the coconut and stick it on that. 
A handmade product is more than just a product, it reflects you and your creativity. To me giving a handmade product instead of something available easily in market is like writing a letter in your own hand writing instead of sending an electronic mail

Monday 5 September 2016

Ganesh Chaturthi 2016

Warm wishes of Ganesh Chaturthi to my wonderful readers!!
May this festive season bring to you prosperity, happiness, health, success and contentment. Ganesh Chaturthi is the second most anticipated festival at my place, first being Diwali. Ganesha - the remover of obstacles, the patron of education, the God of intellect and wisdom, is worshiped in many homes through out the year. But this time of the year many states in India and many Indians across the globe welcome Ganesha to their home with grand fervor to celebrate the birthday of the elephant headed God.

Each festival and occasion calls for a celebration and make your creative juices flow. Last year few days before Ganesh Chaturthi I had made a M-seal Ganesha and for this year celebration I was planning to make an Eco friendly Ganesha. But as it is said man proposes and God disposes, God had some awesome plan for me this time. We have recently shifted to Mumbai and I am celebrating this auspicious occasion at a place, where each and every nook and corner of the city is glowing with the aura of the elephant headed God. Presently busy in arranging my home and have no time for DIY. But I'll not disappoint you all. For me presence of lord Ganesha spreads positivity and I have few corners of my Noida home shimmering with positivity for you all. 

Ganesha brings prosperity and initiate new beginnings. 
Vighna Harta - the remover of obstacles.
Lambodara- the one who have big stomach. It stands for vast capacity for amalgamation and incorporation of thoughts and ideas. 
Mangal Murti - The one who bestows peace or purity and endows auspiciousness. 
Vidyapati - The master of Vidya or Knowledge. 
I hope Ganapati-the master of all will bring in peace and harmony in our life and will fulfill our dreams and wishes. 

"Ganpatti Bappa Moriya"

Tuesday 30 August 2016

DIY Paper Mache Tray

Hello Readers...
My blog space is one of my favorite space, but I admit that I often don't give justice to this space. I have realized this many times and yesterday a mail from a very dear follower of When Creative Juices Flow reminded me it again. She has written about a tutorial. In a post entitled "Ohhh Summer", I had mentioned to come up with a post on paper mache tray. She searched about it, but couldn't find the post and thus wrote to me. I am really happy to see her message and super happy to know that my posts are really read by some at least. I am so sorry that I have mentioned about it and then completely forgot to make the post. I promise I'll make all pending posts soon. So here is the tutorial of paper mache tray. 
Items required 
1- News paper or Egg cartons or any other paper (I usually use egg cartoons)
2- Plaster of Paris
3- Water
4- Acrylic paint
5- A white paper
6- Paint brush
7- Sea Shells
8- Fevicol or Glue

Step-1
The first step is making of paper pulp and then paper dough. Once the dough is ready, we need to give it the required shape. Please click on this link for the detail tutorial, where I have mentioned all these three steps while making paper mache tea coasters. (Follow step-1 to step-8). These steps for paper tray are missing and it is same as paper mache coasters, so please refer to the above link. 

Step-2
For tray I had made an oval shaped paper mache base of around 25 cm length, 12 cm breadth and 1 cm thickness. 
Step-3
Once the tray base dries completely, stick the sea shells with fevicol/glue. Allow the glue to dry completely. 

Step-4
Now paint the paper mache base by using acrylic paint. I preferred to keep it natural so painted it in up-white colour.
 
Allow the paint to dry completely and then it is ready to use. 
 
It is strong enough to hold your small table decor accessories or other knick knacks. Hope you all will like this and so sorry Sheetal I kept you waiting so long. 

Saturday 23 July 2016

Items with Henna Art / Mehendi Art

Mehendi or Henna design on hands are very popular and famous all over world. Next to this I think Henna design on candles are very popular among decor enthusiasts, DIYers, art and craft lovers. So I thought of making henna designs on different varieties of items. 

Steps I followed are: 
1- Applied a coat of oil based white colour paint and left it to dry for more than 24 hours.
2- Made some designs by using normal ready made Henna cone. Got it from market by spending only 10 rupees. 
3- Left it to dry for 4-5 hours and then applied a coat of touch wood. I think mod podge will also work. 


Here are the items.. 
My first obsession, love for bottles *smile* 
A Ferrero Rocher choclate box, has now become a beautiful jewelry box.
A plastic pot got converted into a small planter...
And all together. Whenever something new is made, for few days it is displayed on the coffee table first. 
So, I hope you will like my latest DIY. If you are good in making designs with henna on hands, you can do wonders. So try this and if you like my work don't forget to give a comment. You can also follow my blog at Facebook, here is the link

Sunday 17 July 2016

Matthi or Mathri (A Different Version)

Hello friends...
The recipe today I am sharing, is my mother's recipe. Actually she was making this when we were kids and this got popular among our friends, when we moved to hostel. She used to sent these to hostel with other snacks. Actually don't know it's name, me and my brother had a special name for it, that I can't disclose here *smile*. So it's a different version of matthi with slight sweet and coconuty flavor. 


Ingredients
1- Whole wheat flour - 1 cup
2- Semolina / Suji / Rava - 1 cup
3- Besan / Gram flour - 1/2 cup
4- Coconut (freshly grated) - 1 cup
5- Sugar- 1/2 cup
6- Cardamom / Elaichi (powder) - 1/2 tsp
7- Black Cumin/ Kala Jeera - 1/2 tsp
8- Refined oil - 4 tsp for dough
9- Refine oil (for deep frying)
10- Salt- 1/2 tsp

Step-1
Mix all the ingredients together and knead a stiff dough, using a very little amount of water.
Step-2
On a rolling board roll the dough into a circular shape. It should be slightly thicker than usual roti/chapatti.
Step-3
Cut some shapes using a cookie cutter. By using a knife or fork make some cut marks on the pieces.
Step-4
Heat some oil for deep frying. Then fry the mathris on medium heat first and then on low heat, till golden brown.
Step-5
Once they are cooked take them out on tissue paper. When these are hot they are little soft and tender, but once they come to room temperature it becomes like normal mathri or matthi.
These can be stored in a airtight container for a month. So enjoy these with tea and coffee this monsoon. 

Tuesday 12 July 2016

DIY: Book End Holder

Ohh... this bottle obsession, this is going to stay with me forever and I am going to share my creativity with bottles with you the same way. I have made a bookend with a bottle. We can find so many varieties of bookends, made of wood, metal or any other heavy material. I was in need of it since long. But before purchasing, the DIYer in me thought of giving a try. Few simple steps and it's ready. 

Items Required:

1- A bottle
2- Colours for painting the bottle ( Acrylic or oil based paint)
3- Paint brush
4-A small chunri (I used a chunri that we generally use in worshiping goddesses in India and can get it from any store selling Puja items.) 
5- Glue (I used Fevicol)

Step-1

Paint a bottle in any design. I have already shared some methods of painting bottles. Here I have used a plastic bottle of one litre capacity, as a small bottle will not be heavy enough to stack and hold the books together. First given a base coat of oil based paint and then painted a Bengali bride on it using acrylic or fabric colours. Purposefully I have not given the painting a clean look. You can make any painting of your choice. Let the colours dry properly.
Step-2
Then fill in some sand or soil in the bottle. Remember the soil or sand should have no moisture at all.
Step-3
Tightly place the cap or you can also glue it. Then apply some glue and stick a small chunri. Let the glue to dry for some time. And the bookend is ready.
Engage yourself in some best out of waste DIYs. Then admire your work, feel proud and be happy *smiles*. 

Saturday 2 July 2016

Living the Living Room

Welcome to our home….

I have already invited you to our home, by showcasing the entrance, foyer and balcony garden. Today it's the turn of our living room...

When we are at home, the living room is a place where majority time of the day is spent. Our living room goes through two phases daily. The first one is, organizing the cushions, dusting & cleaning everything, keeping things at proper place and bla bla bla (Man in the house complains that I have a phobia of keeping things organized and systematic). Second is, when the sofas are occupied by us, cushions on the floor, TV in full volume, feet propped on the coffee table and few snacks jar just around for some munching.

Living room, also formally called as drawing room and somewhere that formal setup entered our living room unintentionally. This place of our home is blessed with sufficient space and sunshine. In fact so much natural light that sometimes even with all the curtains down, it's difficult to get a good snap from this angle during day time. 
Above and below, same day, same setting, but with two different lightings. One thing you can see is, I love to keep things always simple and clutter free. 
We love deep rich wood tones, normally and for reasons as well. When we moved to this place, the 1st thing we purchased was the sofa. We went for a dark brown one, considering the high level of dust, thought it will be easy to maintain a darker shade (though my heart was longing for a white sofa then). Then after this whatever furniture entered into our home was in brown shade, to maintain uniformity.


On the coffee table I always prefer to display some vignettes, but limit them to a tray. Because living room is our favorite place to have dinner just in front of the TV. So with one lift & one move of the tray, coffee table can turn into a dinner table.


Though generally I don’t or unable to do major changes in arrangements of my living room, but I keep on changing and displaying different items on the side table and coffee table on weekly basis.


I love to decorate our home with my handmade and DIY items. Other than this have a soft corner for handicrafts. So these items are dominantly found among the decor accessories. 

Hope you loved a tour of our living room *smiles*, will try to showcase you other rooms of our home in near future...