Showing posts with label Festivals. Show all posts

Tuesday, 8 November 2016

This Diwali....

Hello friends...
Hope you all had a great Diwali...I too had a great Diwali this year, as this time finally me and my in-laws got a chance to celebrate Diwali together. But still this time the festival of light remained a low key affair at my place. I was awfully busy till the big day and couldn't do as much as planned. I had two Diwali DIY posts and could only share one with you all. Sorry for another one, which is still lying as a draft. 

As I am already late, I don't want to become more late and here are some Diwali snippets from my home...
Sorry for the picture quality friends, first of all I am a novice photographer and this time in a hotchpotch the pictures are not as they should be.   

Entrance of my home...on the three days of Diwali...
This clay doll holding diyas is my favourite one and is with me from last few years..my heart never lets me bid adieu to this. So each year I give some touch up and use it.  
For Diwali decoration terracotta products are first preferred at my place and this is the time when we get maximum variety of these. 
 My handmade urli with some artificial lotus. 
 Indoor decoration was not much this time. 
Diwali is incomplete without some mouth watering delicacies..so they were made abundantly and my MIL is a big sport to me in preparing these. 

This was all about this Diwali *smiles*
Soon will take you all for my kitchen tour ............

Wednesday, 26 October 2016

DIY Kalash

Diwali or Deepavli...the festival of lights is quickly approaching. 
On Diwali, Lord Ganesha and Shri Lakshmi are worshiped in many parts of India. And in Hinduism when there is any festival a Kalash is considered as an auspicious object. Today I have come up with a tutorial on making Kalash. This can be used as a decor element in your Diwali decoration and can also be a part of a great combo gift with some sweets & diyas for friends, relatives and colleagues. 
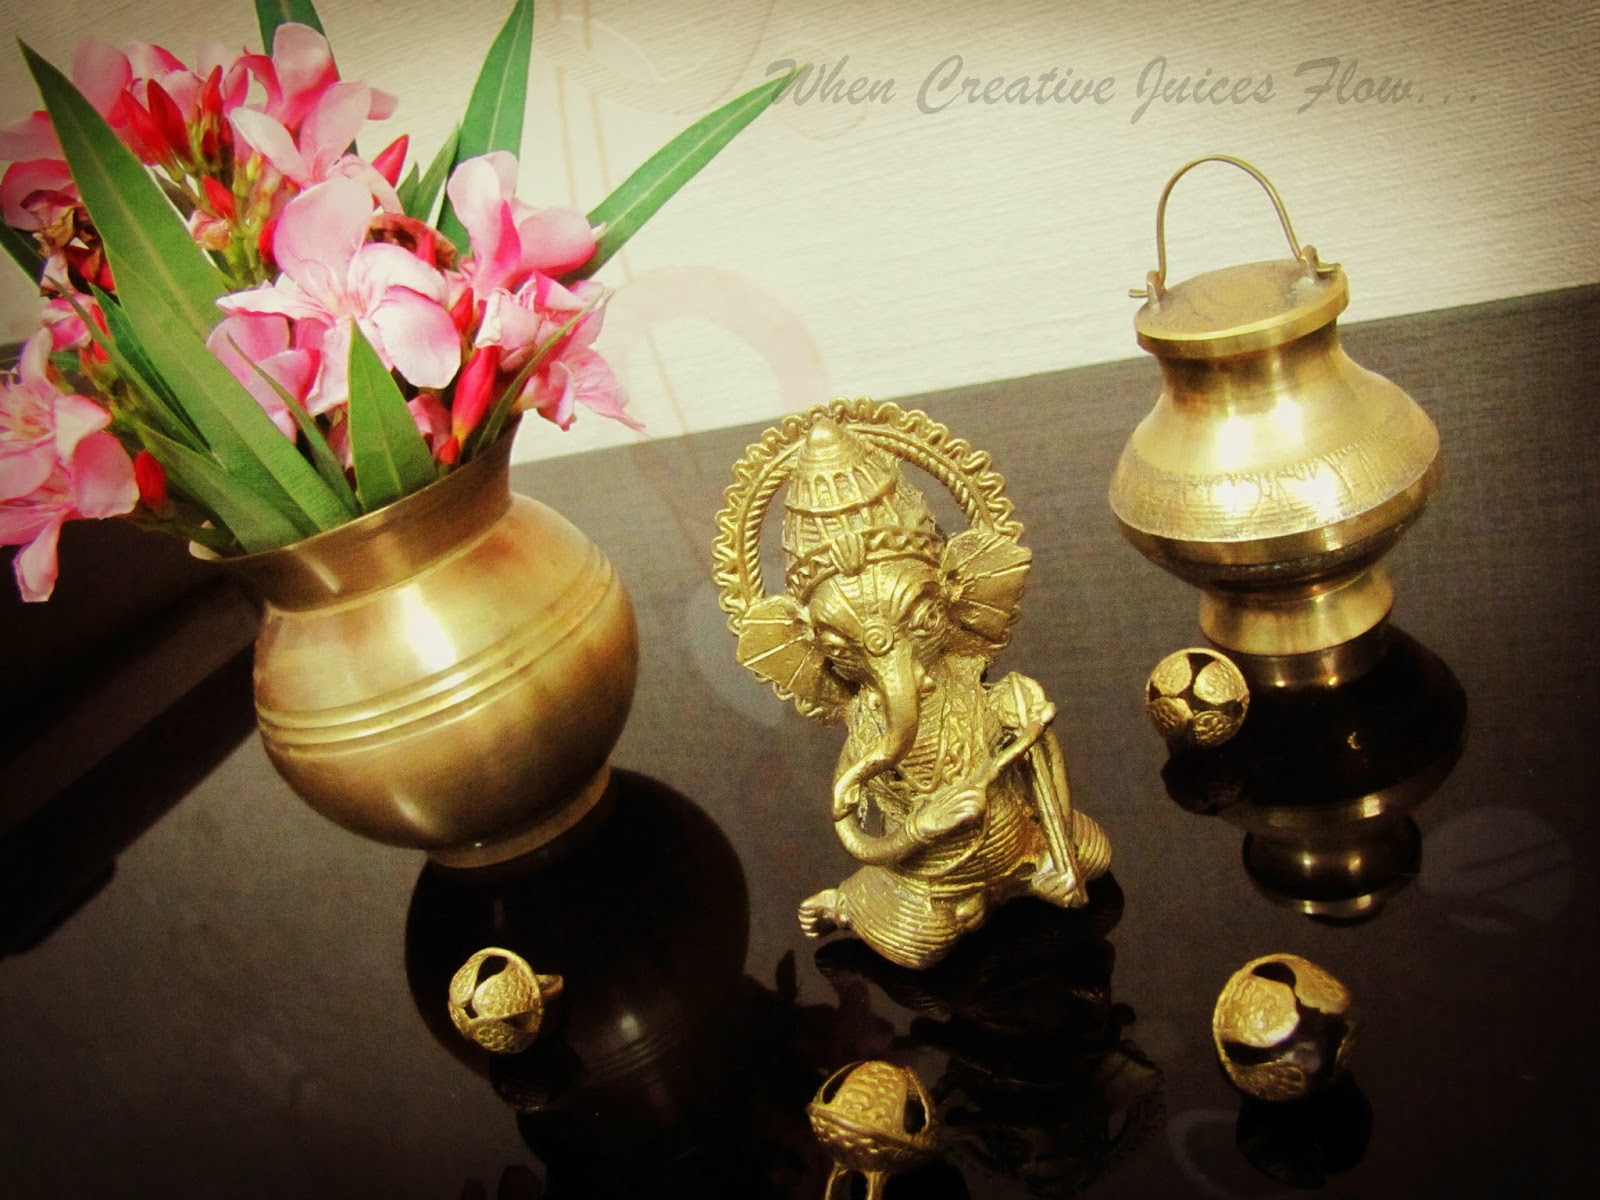
Just keep a Kalash near your idols with some tea lights to complete the look...
Actually the Kalash that you can see in the following picture is what I had made previous year and this year I have made some only for gifting. 
Items required: 
1- A small clay pot
2- Coconut husk
3- Acrylic paint
4- Glue / fevicol
5- Rhinestones
6- Thread (same colour as coconut husk)
7- Mauli / Kalava / Charadu thread (Red and yellow thread considered as sacred and is tied on hand in many religious ceremonies in Hinduism) 
8- Small Ganesha made of plastic (I keep on collecting these from wedding invitation cards)
9- Scissors
10- Paint brush
11- Drawing sheet or green colour sheet papers for leaves 
Tutorial: 
Step-1, 2 & 3
Paint the clay pot. Cut leaves from the sheet paper and paint them. It represents mango leaves, so cut the shape accordingly.
Step- 4, 5 & 6
Take some coconut husk and give it a round shape. Then slowly add on more husk to it. Gradually give a coconut shape to it. Once you are happy with the shape, with some thread tie it all around. 
Step- 7, 8 & 9
Coconut size should be according to the size of mouth of clay pot. Now by using mauli thread and rhinestones decorate the pot and the coconut. Let it dry for some time.     
Step-10
This is the final step. Now stick seven leaves on the clay pot first and then apply some glue on the coconut and stick it on that. 
A handmade product is more than just a product, it reflects you and your creativity. To me giving a handmade product instead of something available easily in market is like writing a letter in your own hand writing instead of sending an electronic mail

Monday, 5 September 2016

Ganesh Chaturthi 2016

Warm wishes of Ganesh Chaturthi to my wonderful readers!!
May this festive season bring to you prosperity, happiness, health, success and contentment. Ganesh Chaturthi is the second most anticipated festival at my place, first being Diwali. Ganesha - the remover of obstacles, the patron of education, the God of intellect and wisdom, is worshiped in many homes through out the year. But this time of the year many states in India and many Indians across the globe welcome Ganesha to their home with grand fervor to celebrate the birthday of the elephant headed God.

Each festival and occasion calls for a celebration and make your creative juices flow. Last year few days before Ganesh Chaturthi I had made a M-seal Ganesha and for this year celebration I was planning to make an Eco friendly Ganesha. But as it is said man proposes and God disposes, God had some awesome plan for me this time. We have recently shifted to Mumbai and I am celebrating this auspicious occasion at a place, where each and every nook and corner of the city is glowing with the aura of the elephant headed God. Presently busy in arranging my home and have no time for DIY. But I'll not disappoint you all. For me presence of lord Ganesha spreads positivity and I have few corners of my Noida home shimmering with positivity for you all. 

Ganesha brings prosperity and initiate new beginnings. 
Vighna Harta - the remover of obstacles.
Lambodara- the one who have big stomach. It stands for vast capacity for amalgamation and incorporation of thoughts and ideas. 
Mangal Murti - The one who bestows peace or purity and endows auspiciousness. 
Vidyapati - The master of Vidya or Knowledge. 
I hope Ganapati-the master of all will bring in peace and harmony in our life and will fulfill our dreams and wishes. 

"Ganpatti Bappa Moriya"

Monday, 21 March 2016

DIY Flower Baskets

Hello peeps...
All set for the festival of colors?? Do you have any special plan for this Holi?? I wanted something colorful and something new to decorate my coffee table, especially for Holi. So that called for a DIY work. And when DIY activity comes to mind, first priority is always something which is BEST OUT OF WASTE. This time I tried to make some flower baskets with old newspaper and invitation cards. 
Items Required
1- Newspaper 
2- Invitation Cards (Can use chart papers of different colors. I had invitation cards, that I had colored using acrylic paints) 
3- Glue 
4- Scissors 
5- Paint Brush 
6- Acrylic Colors 
7- Thread 
8- A Pen/Pencil 
9- A thin stick or a wooden skewer 
10- A Piece of Corrugated Cardboard Sheet 
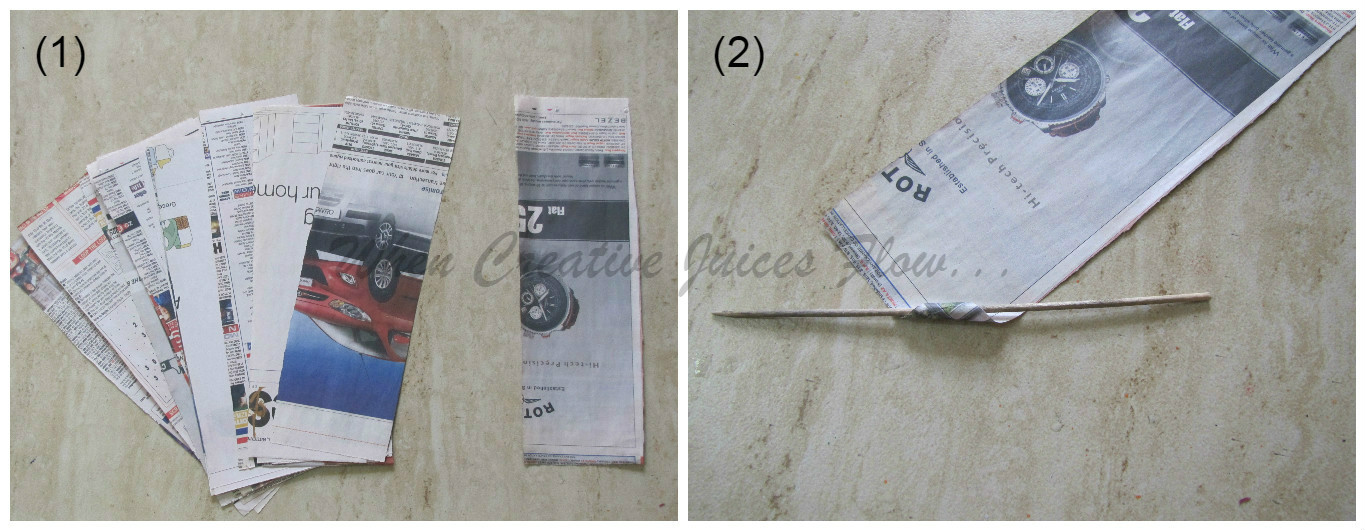
Step-1 & 2 
Cut newspaper into 3/9 inch pieces. From one corner start rolling the paper using a stick. 
 
Step-3 & 4 
While rolling the paper keep on pulling the stick from one end. Once done apply some glue at the end. Then pull out the stick. 
 
Step-5 & 6 
Make around 15 sticks to make one basket. Draw circles (around 8 to 10 c.m. diameter) on corrugated cardboard sheet. For one basket we need two circles. 
 
Step-7 & 8 
Cut the circles and then glue some newspaper sticks on a circle as the picture below. 
 
Step- 9 & 10 
Apply some glue all over the circle and on that stick another circle. 
 
Step-11 & 12 
Now on that keep any heavy object, so that both the circles will stick to each other properly. I placed a plastic jar on it for 30 minutes then it was ready.
 
Step-13 & 14 
Roll a newspaper roll on finger or on a pen. By doing this it will become little flexible and we can easily weave the basket. Glue one end of the stick on one stick and leave for few minutes, so that it will fix. Or else you can put a clip on that, which you can remove later on. 
 
Step-15 & 16 
Now start weaving the basket. We have to alternatively move the stick inside and outside around those sticks which we have glued on the circle in step-8. When one newspaper stick ends then apply some glue on another stick and insert it inside the first one. 
 
Step-17 & 18 
Once our basket's depth becomes around 10 c.m, then it is done. Leave around 2 to 3 c.m. of the newspaper stick from top and cut the rest of it. 
 
Step-19 & 20 
Now fold the sticks inside the basket and apply glue on it. I used some clips to set it fast. 
 
Step-21 & 22 
Once the glue dries completely and basket is ready, next step is coloring it. I used light brown color, so that it will look like as if it is made of some natural fiber. 
 
Step-23 & 24 
Take chart paper of any color and cut the petals. I have cut the petals in oval shape, you can cut it in any shape and size. Fold the petals from the middle, so that we can easily tie up them. I have cut some thin strips also to add at the center portion of the flower. 
 
Step-25 & 26 
Tie the petals together with thread. I made around 5 such flowers for each basket. 
 
Step-27 
Once the flowers are ready, then glue them on the basket. I filled one single color flower in one basket, you can fill according to your choice.
Now they are ready. You can make any number of baskets according to your wish and your patience *smiles*. 
Do find some time to share your view on this DIY. 
If you have any DIY ideas that you want to share with others then write to me at 
whencreativejuicesflow@gmail.com. I'll love to make a post on it. 
Enjoy your Holi, but don't waste much water as summer has already knocked on our doors and many part of the country facing water scarcity. *smiles*

Tuesday, 15 September 2015

DIY Ganesha Idol

Ganesha, the God of wisdom, prosperity and auspiciousness. The remover of obstacles (Vighneshwara). Ganpati, the benevolent and beloved deity of all, is on his way to our home. Holiness and spirituality is in the air and we have started feeling the presence of elephant headed God everywhere. Puja Pandals are getting ready here and there. Festivities everywhere and in this situation the creative juices in my mind will not flow that’s impossible. So I also thought of making a Ganesha idol for my home. I am not going to worship it on Ganesh Chaturthi, as bidding adieu is the toughest part. It will be with me always at my home and will become a part of the small family of Ganesha idols at my home. What I made is also not eco-friendly, but still I know my readers will be interested to know the DIY.
Items required
1- Two small pebbles (one comparatively bigger than another)
2- Hobby ideas Shilpkar caly / white M-seal
3- Acrylic paint
4- Paper knife / craft knife
5- Paint brush
6- A small piece of polythene bag
7- Talcum powder
8- Glue / Fevicol 
Step-1
Dust your palm with talcum powder to avoid Shilpkar clay sticking to your hands. The Hobby Ideas Shilpkar clay contains two packets, one is resin and the other is hardener. Take equal amount of both and knead them well. Take a small portion of this mixture and place it on the small polythene sheet. 
Step-2
Now place the bigger pebble on it. If you need, you can apply glue (fevicol). I placed it directly and left it for few minutes. Then on that place some more mixture and place the other pebble. Then take some more mixture and flatten it.
Step-3
Cut it in half with a paper knife or craft knife, with this we will make the ears. Similarly make two hands and a crown. Then stick these in their respective places. 
Step-4
After sticking the crown stick the ears. After this at the end make the trunk and stick it. If we are making Lord Ganesha how can we forget his Bahan the Mushik. So make a tiny winy cute little rat also. Once the clay of the base dries completely take out the polythene piece. 
Step-5
After making it, let it dry for around an hour. Then prime it with white acrylic paint. Let it dry again for some time and then paint with colour of your own choice. I used red, yellow, black and white. Then it’s ready. 
So make a Ganesha idol for your home, as nothing can give more pleasure than creating something like this by our own hand.
To get some Puja decoration ideas, that you can implement on this Ganesh Chaturthi you can visit my Diwali post here
Wish you all a Happy and a Blessed Ganesh Chaturthi 2015 

Saturday, 7 March 2015

My Abode in the Colours of Holi

Every festival has its own characteristics and charm. HOLI is one of them. I am basically from Odisha, where Holi is famous for Dola Purnima and Dola Yatra. On this occasion the idols of Lord Jagannath, Lord Balabhadra and Goddess Subhadra are worshiped. The idols are placed in a palanquin locally known as Bimana and is taken out in a procession around the main streets of the city. Then they are worshiped by devotees in most of the house from where they pass by. 

Holi used to be such a Vibrant, Wild, Messy and Adventurous festival. Every one of us has some childhood memories of Holi. Just love playing colours with family, friends and neighbours. As kids we (me and my elder brother) after all the repeated warnings of parents still used to play with all the synthetic colours. Now it is limited to only a formal Holika Dahan in the society where we stay and some family get together. 

Holi was just full of fun and I have clear images of
Holika Dahan a day before Holi,
so many delicious food and thandai,
preparing water balloons and potato stamp by writing Gadha (Donkey) on it,
not able to identify even your known one after playing with colours,
wasting extra gallons of water and time to remove the colours,
a day after Holi showing the after wash still colour full hands to friends in school and discussing who played more with colours this time,
colour coming out of hair still after 7 days of holi,
and many more...

Few pics of this Holi from my home...